Western Union User Guide
Archived Western Union User Guide for Students (pdf document)....

All users (including first time users) should be able to go straight to login. An account is created for you at first registration.
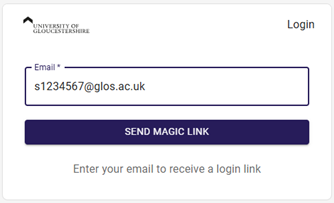
Visit: https://pay.universityofgloucestershire.heycentric.io/login
Enter your University of Gloucestershire email address into the email box (S + 7 digits – eg [email protected]) and click ‘Send Magic Link’.
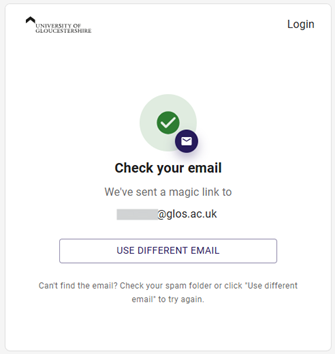
You will then see a confirmation that a magic link has been sent.
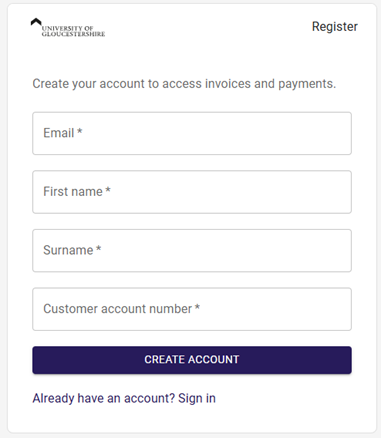
Should your email account not be recognised, you will need to register an account.
Register an account: https://pay.universityofgloucestershire.heycentric.io/register
The email should be your University email address (S + 7 digits – e.g. [email protected]) The account number will be the 7 digit student number (excluding the ‘S’ – use the 7 numbers only).

When logged in you will see the payment page:
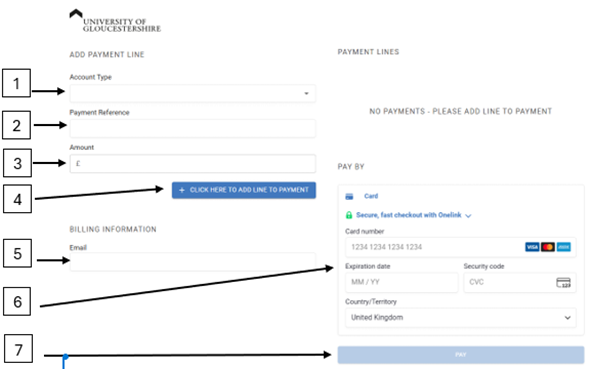
Select the appropriate payment type:
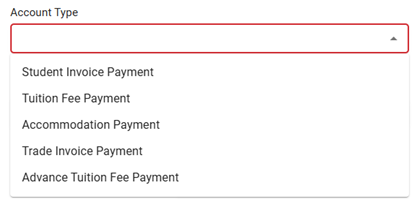
For Tuition Fees, Advance Tuition Fees or Accommodation Payments, the Payment reference is your 7 digit student number (without the ‘S’ prefix). The number will only be recognised if it is a valid 7 digit student number.
If you have selected Student Invoice Payment or Trade Invoice Payment, you will be asked to enter the Invoice Number exactly as it appears on the Invoice you will have received.
This should be the amount to be paid to the University.
Click the blue button. This adds the line to the payment basket.

You can add as more lines to the payment basket by repeating steps 1 – 4.
This will be where your receipt is sent.
Add 16 digit card number, expiration date, 3 digit CVC code and Country of Origin (defaults to UK). For future use, you also have the option of saving card details via Onelink to make the process quicker for subsequent payments.

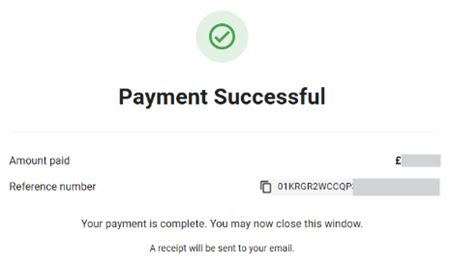
A notification of a successful payment will appear and a receipt will be sent to the email address added at Step 5.